Kraft Bears Technical Process – Part 2
The size of the bears surprised me the first time I saw them. They’re small. I expected a pair of big ol’ teddy bears but these bears are about 10 inches (25.4 cm) tall. The bowties are also small. A couple of inches wide and an inch high. I needed to embed an LED inside and attach it to the bear. Two options immediately felt viable; resin or silicone. Resin seemed good solution for durability but felt I silicone would be good for a soft feel.
My plan was straight forward even if “step-heavy”. Model the bowtie in 3D using Fusion 360. 3D print the model, cast a mold, then cast the bowtie repeated times for a total of 20 bowties. For the prototype and client approval, I needed two. One for each bear. I’ve been working with 3D modelling software for a couple of years, slowly getting better. I’d started with TinkerCAD, moved on to OnShape and then decided to play with Fusion 360. I really like Fusion 360 for its robust feature set and the ability to create natural forms. Also, it’s free. That’s key.
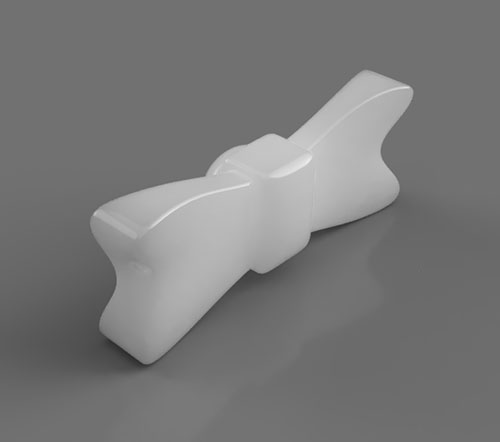
I sent Rethink a variety of angles of the model for tentative approval. Then I warmed up my poor, neglected 3D printer. An old Prusa i3 I built a few years ago from a kit. I spent an hour or so calibrating and managed to cajole a usable print out of it.
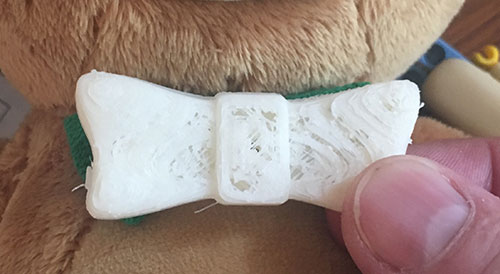
With a few additional hours of finishing, I got a truly usable bowtie for casting a mold from.
With that effort I had a bowtie worth casting. While I was waiting for various layers of Bondo or paint to dry, I was researching using silicone rubber for mold-making. I needed a two-part mold since I had a collar sticking out the back for pushing in an LED and attaching to the bear. I made a few videos on this process and uploaded them to my YouTube channel. Feel free to check them out. I am using Smooth-On Dragon Skin 10 NV.
The process for making a two-part mold in silicone is well-documented and I don’t see how I can add to that conversation without repeating what has already been said.
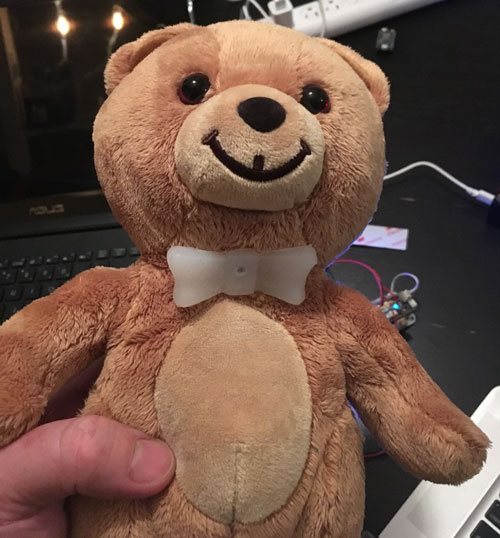
Finally I had two bowties cast for tentative approval.  From the photo above you can see the connector I was using in the prototype for the NeoPixel.
Turns out taking a photo of an LED-embedded bowtie was harder than I thought.
And that was the bowtie I took for the prototype feedback. There were fundamental changes needed. Even if the bowtie was close in size to the original bears’ bowties, it was too small. Also the shape needed revising. I pointed out the time required to make new bowties but was in agreement there was no path forward with the bowties as is. In addition, it was decided to use two LEDs and not one. Also there was a request to wrap the bowtie in fabric. Lastly, I didn’t like the collar in silicone. It was too flimsy and the bowtie didn’t feel solidly attached.
So back to the drawing board, so to speak. Version 2 bowtie!
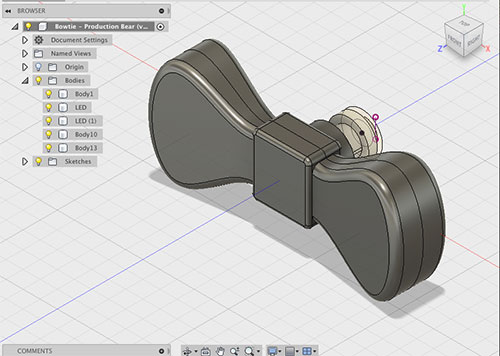
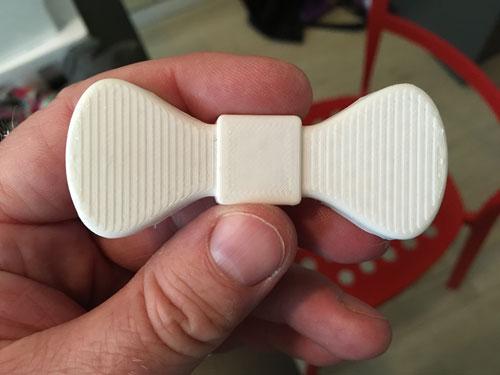
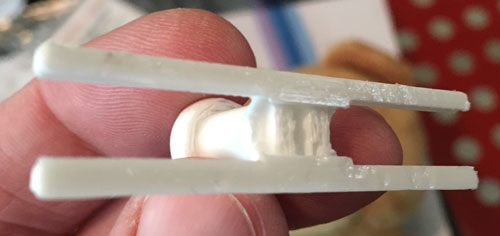
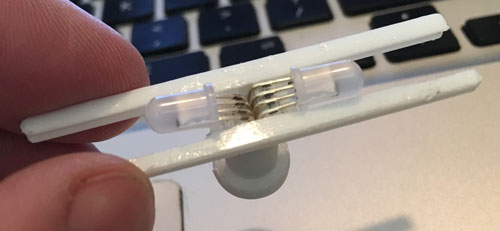
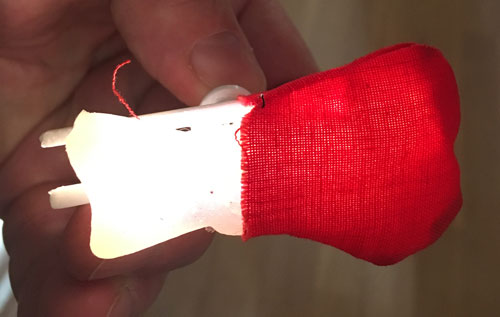
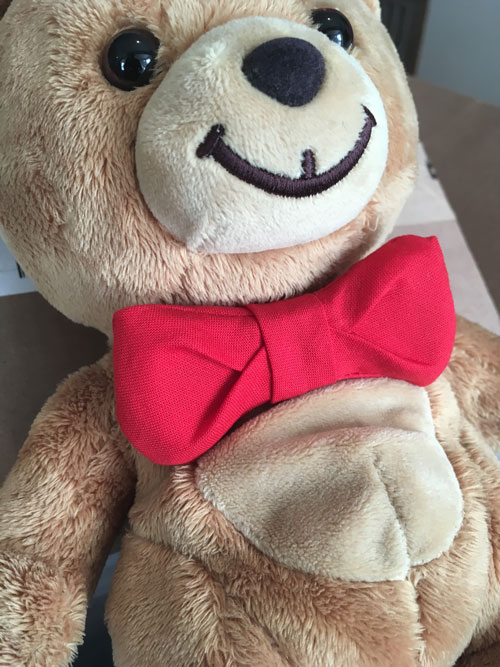
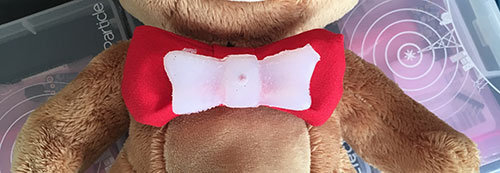
I updated Rethink with the last two photos and said I was ready to cast a mold. He sent these on to Kraft and their reaction was “Why doesn’t this bowtie look like our production run in China? Can‘t your guy match those?”
This is the first time I heard of the Chinese production run. My aim is make any client as happy as possible so I pointed out that I’d never seen the production bears. Under a shroud of secrecy, I was couriered the prototypes of the production bears. Well… I could instantly see how Kraft wasn’t keen on my version. It looked nothing like these. So I took some photos and measurements.
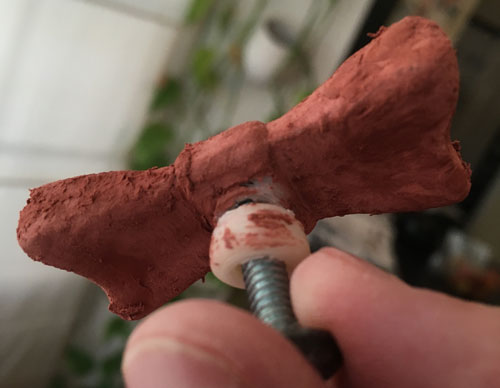
I was told I couldn’t take apart the bowties so I felt through the material to understand the shape. They’d used hard plastic for both the back and front but I wasn’t in the position to do that. I was going to stick with silicone. I sculpted the new bowtie in clay as there wasn’t time to model it and print it.
After sculpting I knew I was close to the production run bears’ bowties. I set up a box around the clay and completed a pour-over mold.
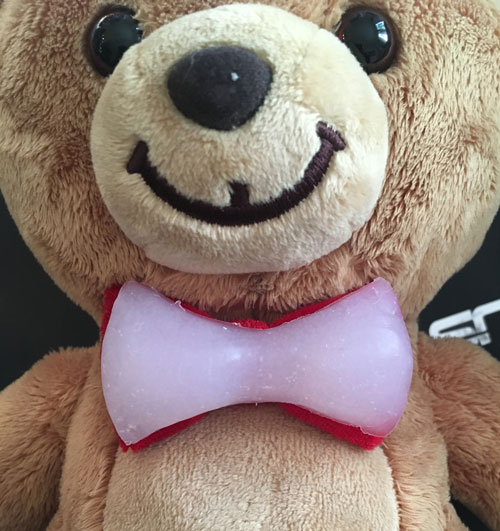
This was a quick process and, as you can see in the above photo, I was able to get the approval I needed to forge ahead with these bowties. I modelled a backing “plate” with a collar. My friend, Sunil John, has made 3D printing quality prints his side passion and I knew he’d print them up quickly and affordably. I made two additional pour-over molds and set about making all the LED couplings. Once the backing plates were printed, I cast three bowties at a time. Once this was completed, I dropped all the bowties off with the seamstress, Jodi, to wrap them in the chosen fabric.
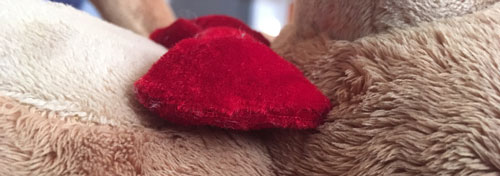
When Jodi finished, I was very happy with the result. The collar maintained the bowtie’s connection to the bear. I’d asked Jodi to sew a small rubber grommet into the bear where the bowtie would be attached for additional support.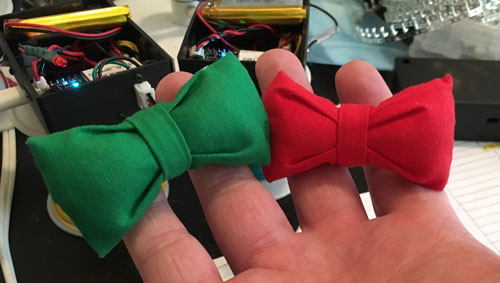
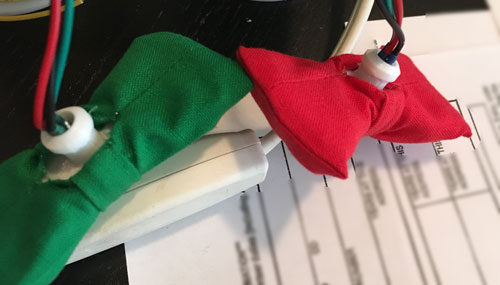
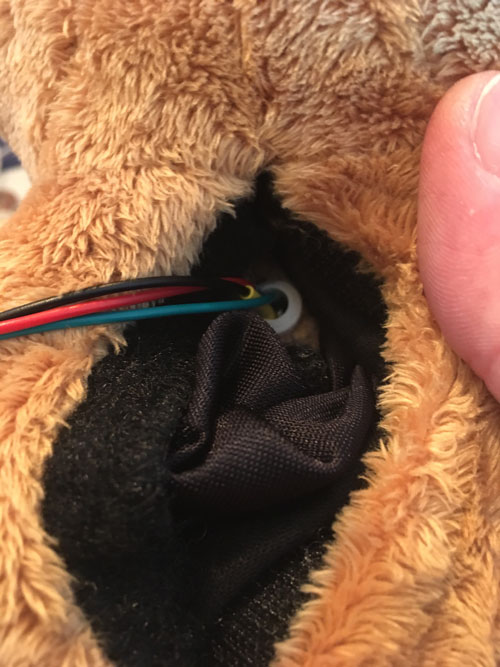

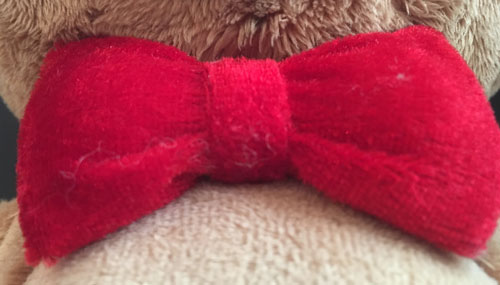
The last request from the creative team at Rethink was to remove the pleating from the front. Jodi was a sport and came over for a couple of hours and the final bowtie was very well-received.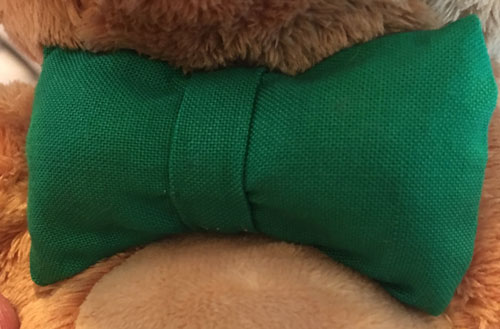
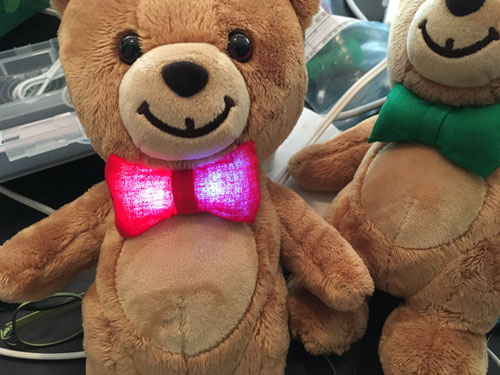
And here are my bowties in action in the announcement tweet from Kraft!
Tell us who you’d bear hug with #KraftBearHugs for a chance to win the bears. Full details: https://t.co/WZGS1bEa3u https://t.co/ob5YEzYYPW
— KRAFT Peanut Butter (@KraftPB) November 18, 2017






Can I still buy these from somewhere?