Vegas: Alter Your Reality

In April, I was contacted by R&R Partners in Las Vegas to help them produce a VR event in Toronto. The event was Vegas: Alter Your Reality that debuted in Miami of 2017 at Art Basel.
This was to kick-off over the Canada Day weekend. I was given a preliminary sketch of the location and a basic timeline. The alley to house the event was between Calii Love and the Fit Factory across from Mountain Equipment Co-op on King Street West. The dimensions I had were 20’ by 100’. The requirements were straight forward; seating for 16 people to use the VR headsets and headphones. They wanted it to feel like Vegas in Toronto on a strict budget. The big stipulation was there could be no line-up on the sidewalk. Everything had to happen within the alley. I took some time in Illustrator and designed this user flow to correct scale.
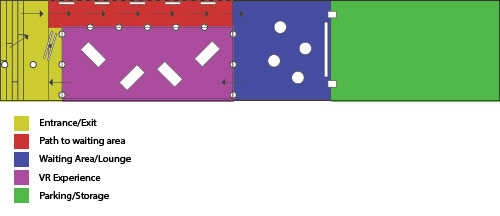 Create a path to the back or waiting area with cocktail tables and brand ambassadors to chat with the public. Have some displays running content at the front and back. Have a PA system running some music. As VR headset positions became available, move people from the waiting area to the VR area. Move people out quickly. An efficient plan, if I do say so myself.
What should it look like?
First things first. I was given a name for a local production/event shop called Mawg Design. They had done events in that particular venue previously. With that experience and knowledge, setup and tear down might be smoother. I contacted Michael at Mawg to get an idea of what he could supply within the budget I had available with the setup I needed.
- Four long/dining tables
- 16 chairs
- Four cocktail tables (tall, glass top preferable)
- Three large displays for video content, synced
- One PA system
- Tent to cover venue (in case of rain)
- Artificial turf. The venue is hard-packed gravel
- Cordons plus stanchions (for that exclusive vibe)
The estimate came back high for what we could afford. I offered some creative solutions;
- Purchase two TVs and a stand. Run video simultaneously.
- Purchase the furniture.
- Rent a PA separately.
Mawg would still be in charge of the tent, turf and additionally set up barriers in the form of construction fencing. A security guard would be on-site after hours but the alley is used by locals as a thoroughfare and we needed to discourage people walking through the venue.
With the budget back on track, I set about sourcing furniture. I came up with options for tables in the viewing area, chairs for the same area, and cocktail tables. Once the decision was made, I ordered all of it. In the interim we started to discuss additional elements that we could use to catch people’s eyes. Vinyl stand up banners were planned and designed to be ordered. The banners would represent the five artists who took part in the VR experience, SignalNoise, Beeple, Fafi, Adhemas Batista, Insa. SignalNoise (James White) would be on hand all three days as a meet and greet and sign posters.
The Sign
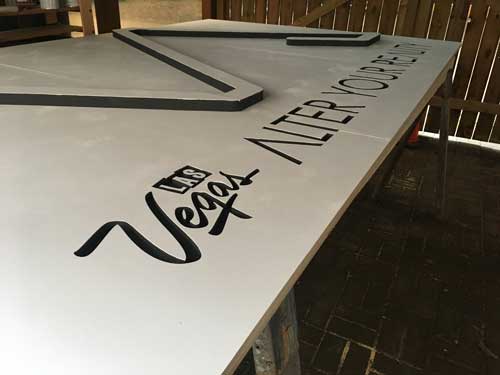
Since we removed one display from the back when we went from three displays to two, I needed a solution for a showpiece in the back waiting area. We briefly discussed a ten-foot banner but I immediately felt a large sign would have more impact. I floated the idea of taking their event logo and making a 10’ wide sign.
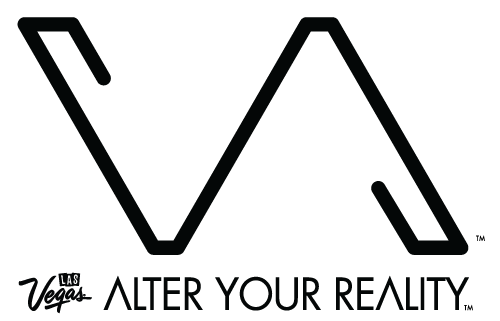
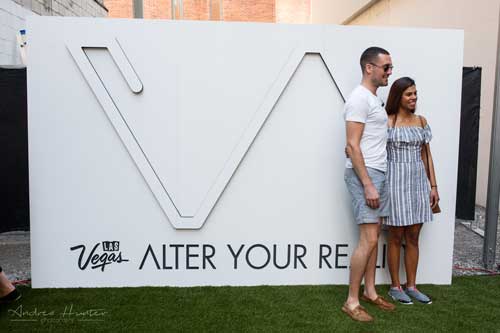
They loved the idea and I set about figuring out how to fabricate the sign. I decided on a layered approach. One .5” layer on the bottom for primary stability. A second .5” layer with the Las Vegas logo and tagline “Alter Your Reality” cut out. Finally, a 1.5” logo as a third “layer”. I contacted CNC Cutting Inc. I sent them over the DXFs and they asked all the right questions. Material, thicknesses, and they mentioned not being able to cut some shapes that were too small for their tooling.
That was no problem. I contacted Hot Pop Factory and they were able to cut the needed shapes in .25” ply twice. I would then glue the doubles together to get my .5” thickness.
With both CNC and laser cutting underway, I spoke to some family members active in theatre and who know scene building. Specifically I needed a solution for holding the sign which was coming out at 6.25’ high and 10.25’ wide. All plywood and at minimum 1” thick. I estimated the entire sign would weigh approximately 350 lbs. No problem I was told. You use jack posts. A brace set at a 90° angle at least 2/3’s the height and equal that in length. Add an angled brace for stability. Finally use sand bags to counter-weight. Have as much sand in weight. Place the sand bags as far back on the floor timber of the jack post. That plus the distance from the sign will counteract any forward lean the sign might want. I needed a location to fabricate the sign but the budget didn’t really allow for a workshop. A neighbour with a covered carport had recently sold her home but the closing date wasn’t until August. With a promise I wouldn’t make a mess, I had a covered space to work. This turned out to be fortuitous due to the fact that it rained two of the days of my build.
The PA
I put out a call on Facebook for anyone with a PA system. Almost immediately a former coworker popped up saying “I have a PA system. You can borrow it.” John Cassano, thank you so much. John is the leader of a Traveling WIlburys cover band called The Traveling Milburys. I drove out to Waterloo and picked the PA after getting a quick rundown on how to set it up. It worked great and everyone was happy with the sound. At some point of the first day, one speaker was moved to the front of the venue to help catch attention and it seemed to work.
The TVs
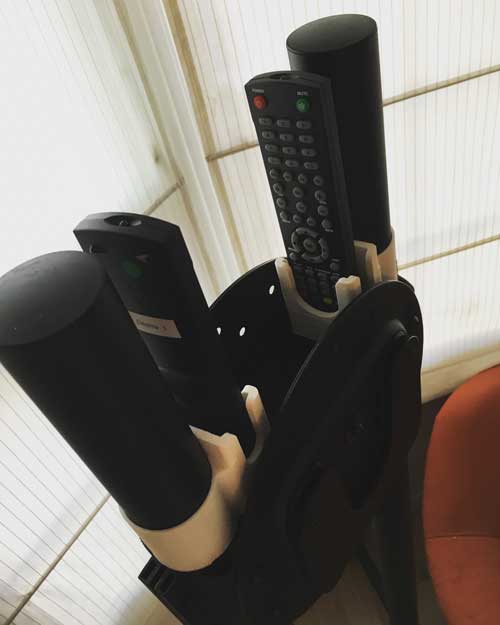
For the displays, I bought two identical 40” LED TVs. In addition I bought a back-to-back dual TV stand. In order to display the same content simultaneously I ordered a HDMI splitter. The source was a Raspberry PI set up with a looping video player. The content came off a USB stick and worked flawlessly all three days. Finally I modelled up and 3D printed a pair of remote control holders so we’d know where the remotes were at all times.
Set up and tear down of the displays took no more than 5 minutes and made for an eye-catching feed.
Alli Saunders of Sight Seven provided me with a bunch of timelapse videos of the set up. You can see all the elements mentioned coming together.
Sunlight
The long weekend was forecast to be exceptionally hot and heat warnings were put into effect by the city of Toronto. We had an outdoor event but the venue was an alley between relatively tall buildings. Thanks to minimal direct sunlight only at noon, the effect of the heat was minimized. In addition, there is a relatively consistent breeze thanks to the direction of the alley, north to south. Although it was certainly hot it was not unbearable. We discussed adding some manner of shade to the tent, which was clear. The morning of the second day, Vaitari from R&R and I took the cladding used for creating a privacy barrier on the fencing and draped on the cross-members of the tent using clamps at the end. This provided additional shade and made the rest of the day even more bearable.
Night Lighting
Around two weeks before the event launch, I asked if there was any evening aspect to the activation. The answer was yes there was one evening going until 11pm. So I found some patio lights and with a tent approximately 50’ by 20’ order four sets of lights which were 33’ long. The fit was perfect and the subdued light from the patio lights really helped set the tone in the evening. With some up-lights provided by Michael at Mawg (thanks, Michael) we created a great look at night.
Hologram
Last but not least was the stipulation we hang a hologram. It was being shipped late and I wasn’t sure how to mount it but knew we’d figure it out. Dwayne from R&R explained we needed a piece of wood for the mounting plate. This wood had to mount high on to the tent structure. We picked our spot, added a black background to help make the hologram stand out and set it up. If you’ve never seen one of these in action, they’re mesmerizing.
SignalNoise
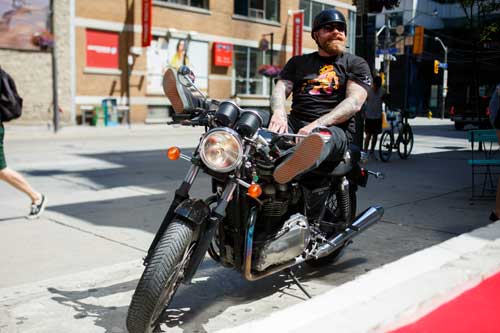
James White is one of the contributors to the experience. He was contracted by R&R to appear each day for three hours. James is a singularly nice guy. He arrived on time and stayed for nearly the entire day. HE was welcoming of the guests and answered any and all questions. He posed for photos, signed posters and was a delight to have around. I ride a Triumph Thruxton. On the second day, James asked if I’d let him get some pics on the bike. Someone mentioned bringing the bike in front of the sign but, as much as I’d want that, it was a no go. Instead I rode my bike around and up on the sidewalk in front of the venue. The photographer and James got to work taking some pics.
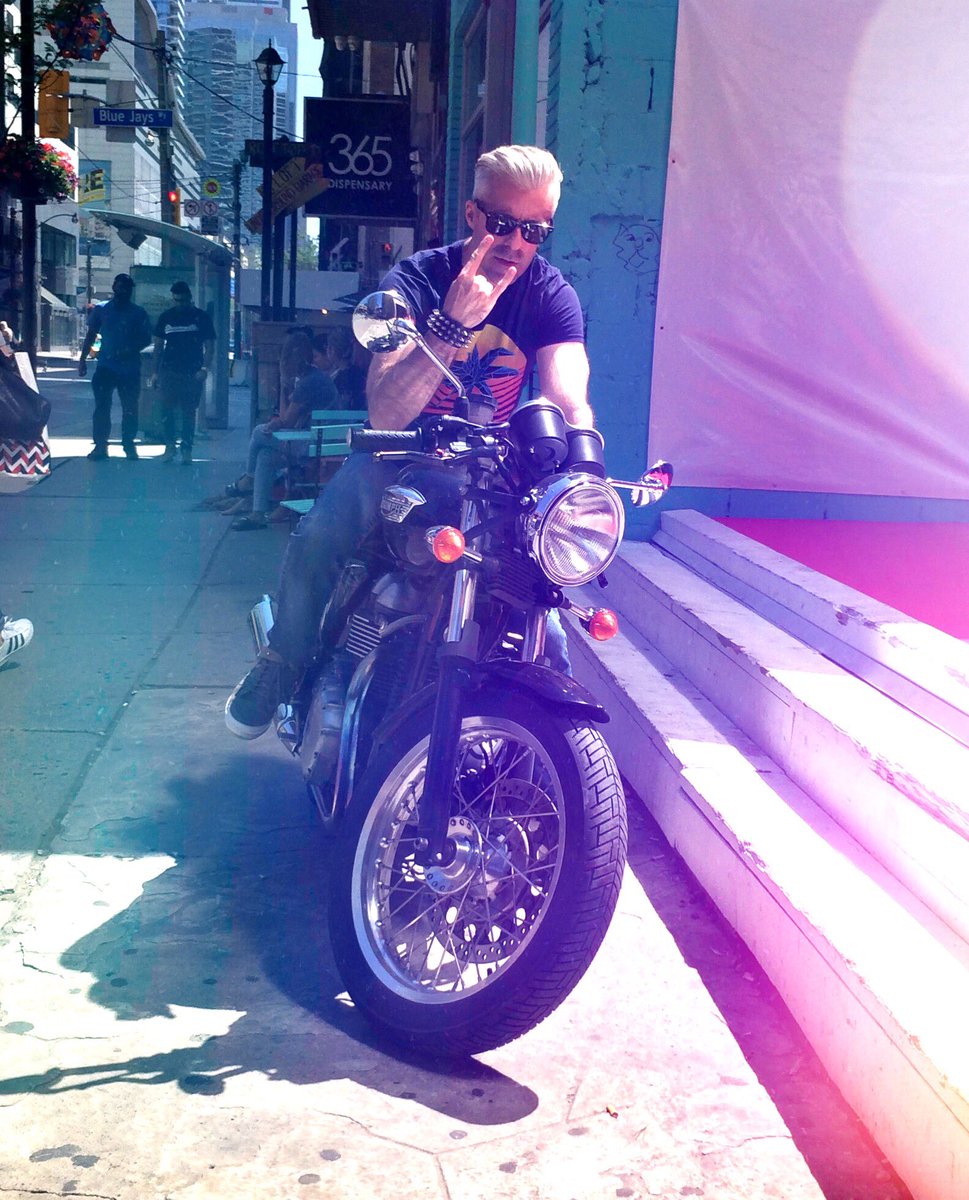
As a surprise at the end, I hopped on and got some pics snuggling James. Then Andrea Hunter took some pics of me. Unfortunately, I am a total ham and couldn’t be cool if I was paid.
Conclusion
I wore a lot of hats for this project. Producer, planner, fabricator, technical support, general contractor, on-site answer guy. I was really pleased to hear the people from R&R say that, thanks to my contributions, they had very little stress over the course of the planning stages of the project. That I always had a solution and thought of most of the issues that might crop up. I never said “no” and rolled with any request as best I could. Like what you’ve read? Let’s work together!
Photos watermarked are credit to Andrea Hunter Photography.
Timelapse video credit to Alli Saunders of Sight Seven Productions.


